
The trick to getting good at lineart is in three steps:
1. TIME
2. Muscle memory
3. Pen pressure/correction
In that order. I’ll talk about each of these separately.
1. TIME
This is pretty self explanatory but I’ll demonstrate anyway. Lineart is a skill that requires precision and precision takes TIME to train. Just because you can draw a straight line on a random, empty piece of paper doesn’t mean to can draw it in the correct place when linearting. At least… not without time and practice!
What I mean by this is not “oh, but I’ve been practicing for 6 months now!”
Here’s a comparison of MY lineart over the YEARS.
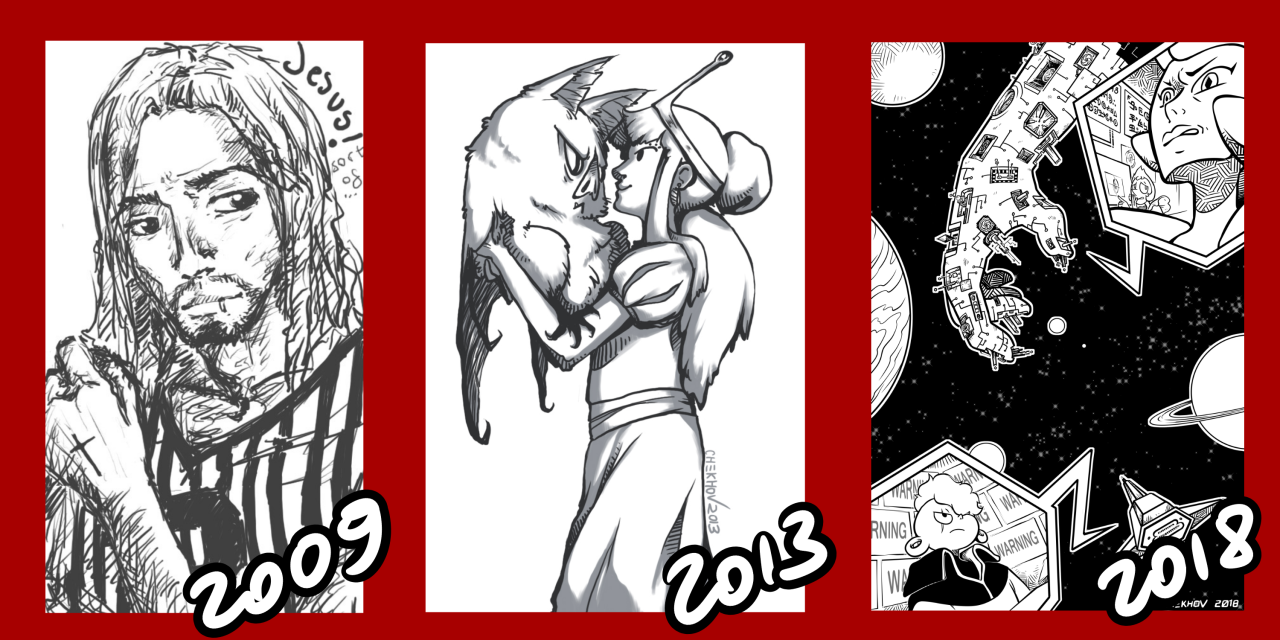
It’s taken me about 10 years to get clean lineart. It takes time to train that kind of thing, because lineart isn’t a talent you’re born with, it’s something you choose to focus on and train!
It’s….
2. Muscle Memory!
Precise lineart requires TONS of fine motor skills. It’s literally the same type of skill required for any precise mechanical movements like adjusting the bowing on a violin or welding neatly.
To train this skill, you need to repeat the desired motions over and over and over again until the movements are each as familiar to you as picking up a spoon full of cereal and (successfully) sticking it into your mouth.
Here’s an easy and straightforward way to do this as a warm-up to your regular drawing routine! Before you get started, sit down with a notebook or open up a clean canvas on your drawing program and practice the following:
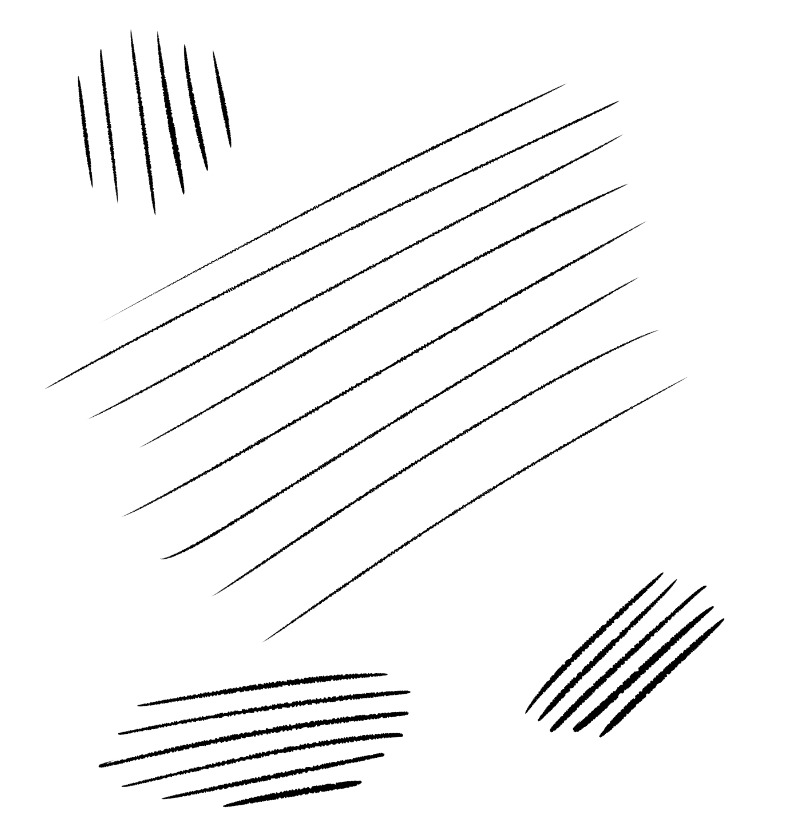
1) Drawing lines spaced equally apart, freehand.
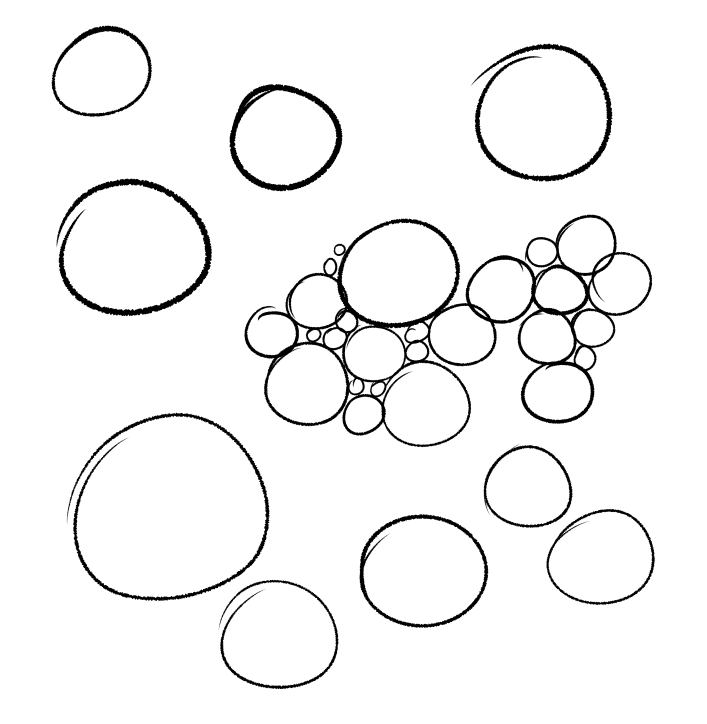
2) Drawing circles as close to circle proportions as you can, freehand.
3) Drawing random dots on the page and connecting them with a single, smooth line.
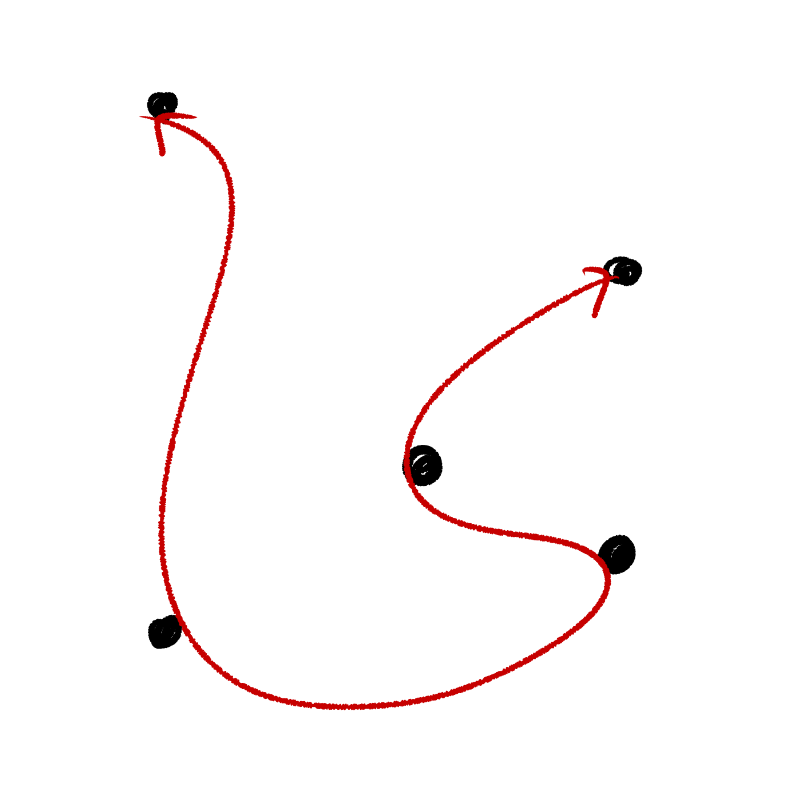
4) Drawing 4 dots and connecting them with perpendicular lines, as straight as you can get them.
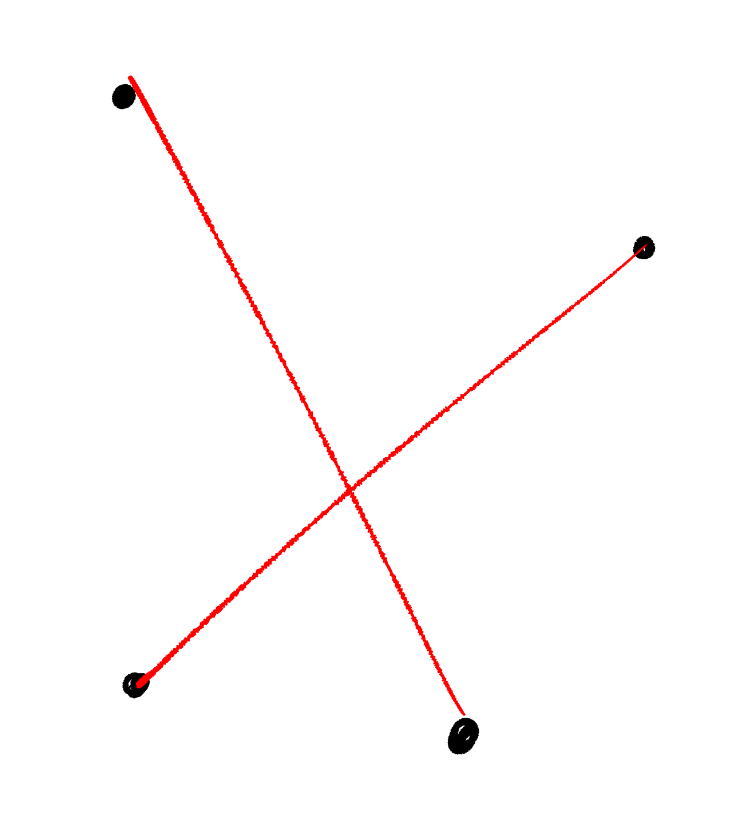
5) Drawing a curve and then replicating it with similar spacing, like the line exercise.
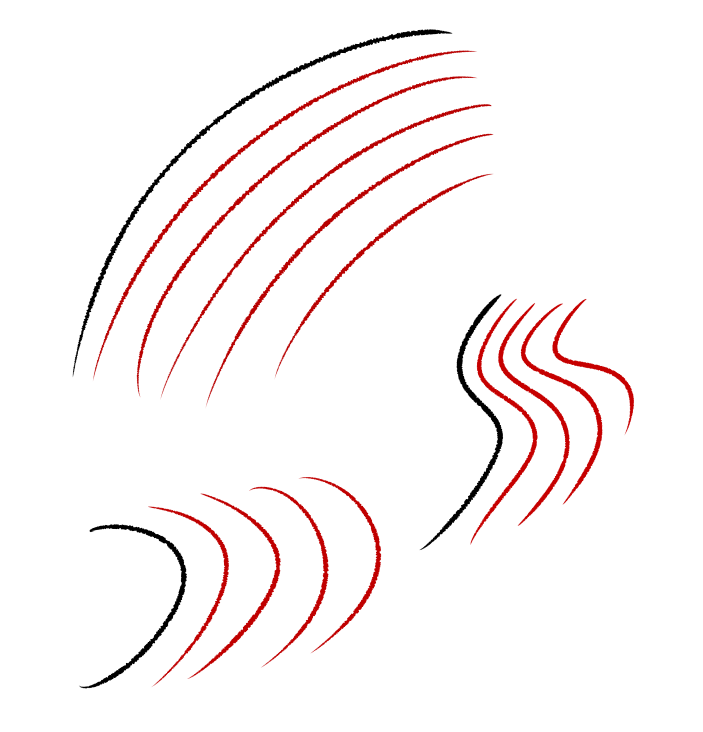
Of course, if this seems tedious and you’d rather get some support, there’s also printouts you can use to help you get started! Here’s one!
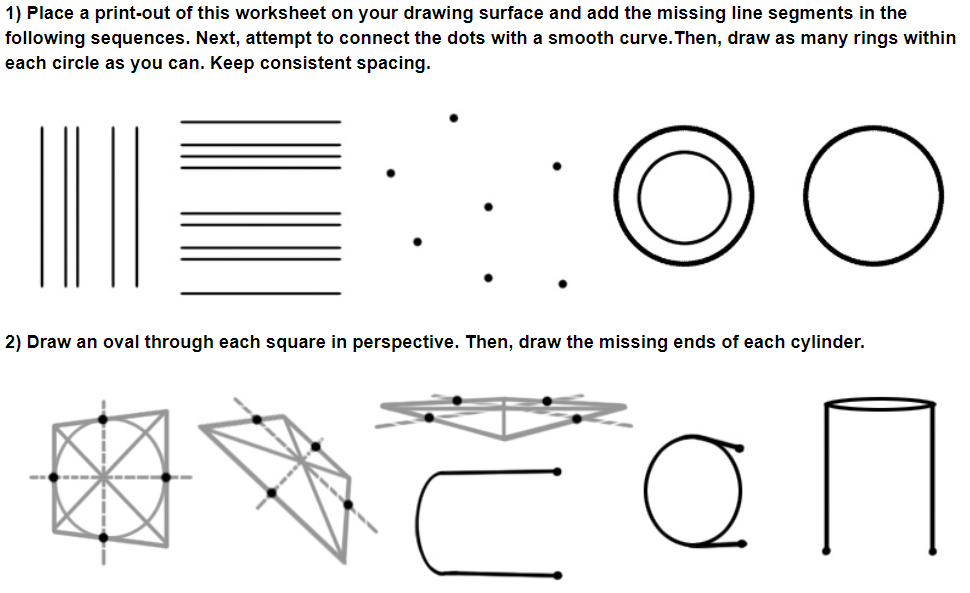
(Further line training exercises!)
And last but not least we have the technological side of things -
3) Line correction on digital drawing programs!
Some people may be up in arms right about now - but wait, isn’t that cheating? Using digital programs as tools may seem like it takes away from the integrity of drawing.
I tend to view it instead as a tool - and like all tools, digital art programs NEED to be adjusted to work at their best. The truth is, they are NOT a godsend. Many artists that are wonderfully adapt at traditional media struggle with digital because of the necessity to develop different hand-to-eye coordination, the lag from the computer and other things like pen pressure, which has a tendency to malfunction.
I’ll focus on only one of these for now - the line correction.
Line correction is a setting on most drawing programs which adjusts for the potential shakiness of your hand when drawing. The strength of this can be toggled - at your own risk. Higher correction adds lag, and lower correction doesn’t.
For example, in my program (MediBang Paint Pro) the correction setting is on top of the canvas when you have the pen tool selected.
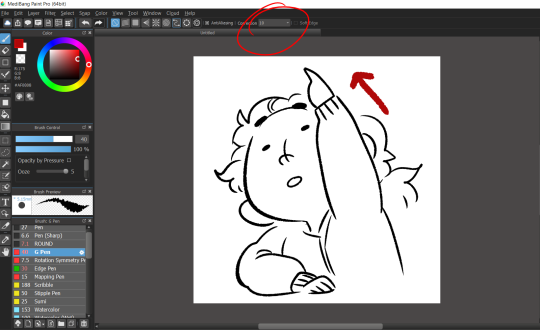
Close up, you can see it has a counter.

I keep mine at 10, but you can play around with it quite a bit.
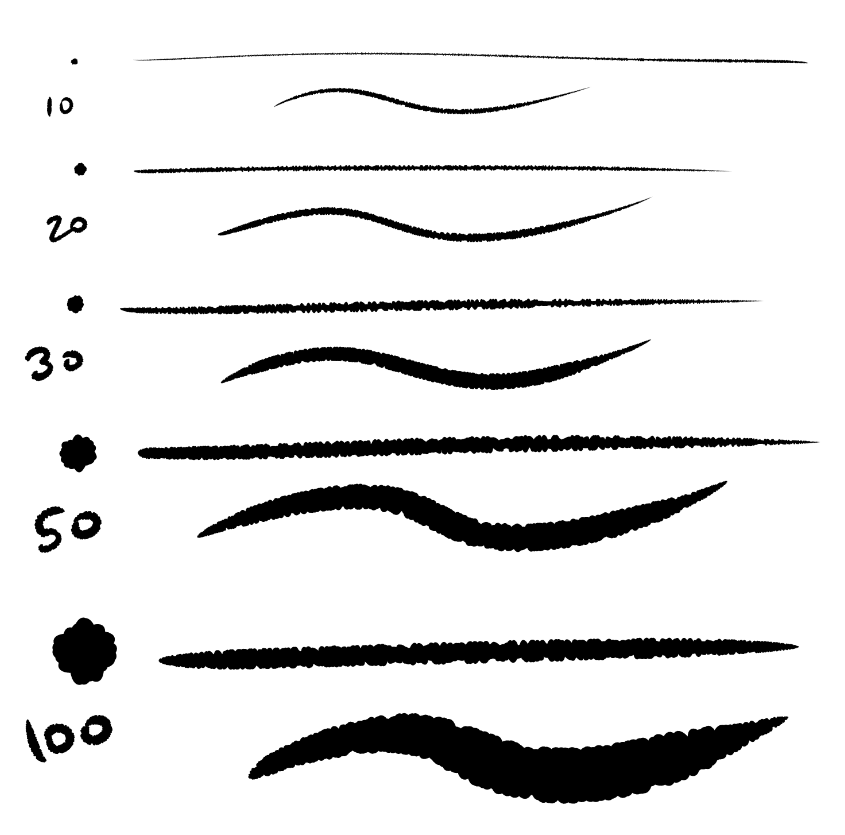
Another thing I always recommend is to play around with various brushes and - this is important - MAKE YOUR BRUSH BIGGER.
I’m actually shocked by this, but many people draw with very tiny brushes or set their brush diameter to the exact width of the lines. This is disastrous. Your brush should be at least twice as wide as what you want your lines to be. It will make them that much easier to draw!
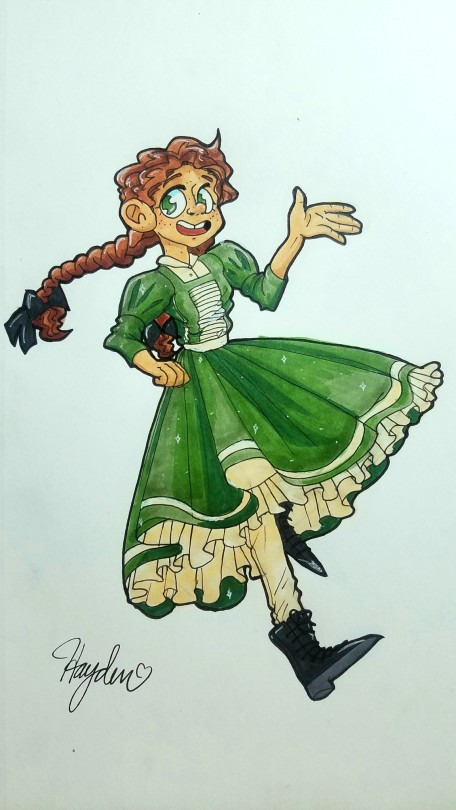
- Chekhov ( @thechekhov )
from The Redline Station https://ift.tt/33p1EAR
via IFTTT
No comments:
Post a Comment